In the competitive world of social media, content creators know that visual appeal is paramount. A beautifully shot video with stunning graphics can certainly catch the eye. However, what often separates good content from truly great content is the quality of the sound. Poor audio can instantly disengage an audience, making a video seem unprofessional and unpolished, no matter how good the visuals are. Many believe that professional sound requires an expensive studio, high-end microphones, and specialized training. However, a student from the Digital Social Media Marketing Program at the Media Arts Center has developed a simple, three-step workflow that proves professional audio is accessible to everyone.
This no-frills method is a perfect example of working smarter, not harder. It demonstrates that by using the right tools for specific tasks, anyone can achieve a high-quality result without a complicated or time-consuming setup. The workflow combines the convenience of mobile technology with the power of professional software in a streamlined process designed for efficiency and impact.
The Challenge of Sound in Digital Content
The reality for many content creators is that their videos are recorded in less-than-ideal environments. This can lead to a host of audio problems, including background hums, echoes, and inconsistent volume levels. A viewer might not be able to articulate what is wrong with the audio, but they will instinctively feel that something is off, leading them to quickly scroll past the content.
The common misconception is that a dedicated microphone is the only solution. While specialized gear can certainly help, the fundamental skills of capturing and refining sound are far more important. The workflow developed by this student focuses on these core concepts, showing that anyone can learn to overcome common audio challenges and produce content that sounds as good as it looks.
Step-by-Step Breakdown of a Streamlined Workflow
This three-part process is a powerful solution to a common problem. Each step builds on the last, ensuring that the final product is clean, clear, and ready for a professional platform.
Step 1: Portable Recording
The foundation of the entire workflow is a simple, accessible recording. The student uses a smartphone and a basic recording app like Google Record. Modern smartphones are equipped with surprisingly sensitive microphones that are more than capable of capturing high-quality audio, especially when used correctly. The key to a good recording is not the device itself, but the environment. By recording in a quiet room and speaking clearly into the phone’s microphone, a clean and usable sound file can be captured with ease. The simplicity of this approach means that content can be created anywhere, without needing to set up a dedicated recording space. Once the recording is complete, the file can be quickly and easily transferred to a computer, ready for the next step.
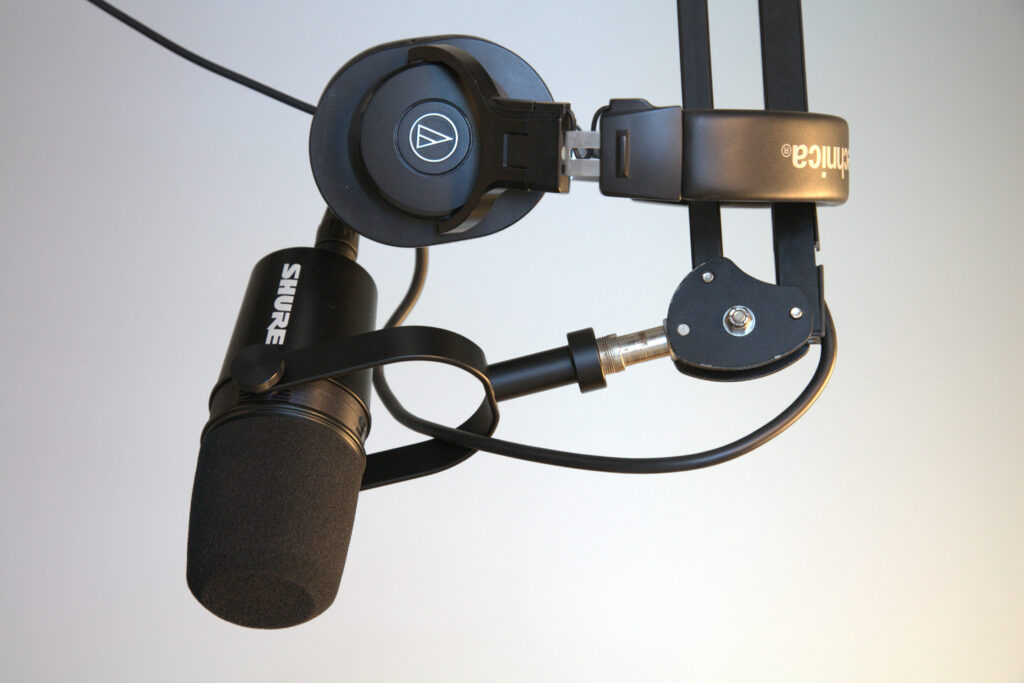
Step 2: Refining the Raw Audio
This is where a good recording is transformed into a great one. The raw audio from a phone, no matter how carefully recorded, often benefits from a little post-production. The student imports the file into a professional program like Adobe Premiere. This powerful software is used for a very specific purpose: to enhance the sound quality. Using its built-in tools, he performs key tasks such as noise reduction to remove any subtle background hums or static. He also adjusts the volume to ensure it is consistent and clear throughout the entire recording. This step is about performing precise, impactful adjustments that elevate the audio without the need for extensive training. The end result is a clean, polished, and professional sound file ready to be paired with video.
Step 3: Integration for Final Delivery
With a high-quality sound file prepared, the final step is to combine it with the video. For this, the student turns to a user-friendly and highly popular video editing app like CapCut. This platform is ideal for social media content creation due to its intuitive interface and powerful features. The process of combining the elements is straightforward: the video and the newly enhanced audio file are imported into the app’s timeline. The user can then easily drag and position the audio to perfectly sync with the visual content. This final stage is all about bringing the two polished elements together to create a cohesive and professional final product. The result is a seamless video that captures and holds the viewer’s attention.
Ultimately, this simple workflow shows that with the right knowledge and a little creativity, you can produce professional content that stands out. It’s a great example of the practical skills we learn in the Digital Social Media Marketing Program at the Media Arts Center.
What are your favorite tools for creating social media content? Let us know in the comments!